This post is part of our “back to basics” series, but don’t let that fool you—knowing how to take screenshots on your iPad or iPhone can completely transform the way you work, learn, and share information. Even tech-savvy friends can sometimes overlook this simple feature, so it’s worth revisiting.
I use screenshots constantly on this blog to illustrate tutorials, show app functionality, and share examples. But beyond blogging, screenshots are one of the most versatile tools on your device—they can save you time, help you organize your ideas, and make teaching or learning more efficient.
Here is how to take a screenshot on iPad, iPod touch and iPhone:
First, find whatever it is you want and properly fit it onto your screen. The zoom to enlarge functionality works great for this purpose. You can take a screenshot of ANYTHING that is on your iPad: a website, app, existing photo, etc.
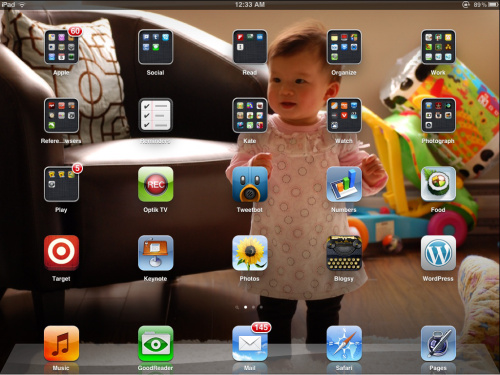
Then, simply press the home and sleep buttons simultaneously. These are the two main buttons on your device. When you do this correctly, it will make a camera shutter sound and small white flash will appear. Try it now! Maybe take one of your home screen, to show off your apps to your family or colleagues:
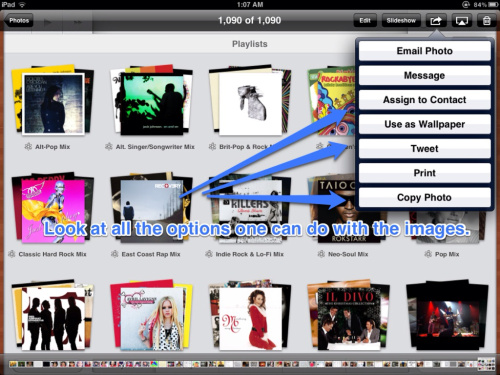
Your photo is now ready for you in your Camera Roll. It is that easy. You can email or text any of your friends the image within seconds. You can make that image your screensaver or even print it if you have an Airprint printer:
Uses of screenshots:
- Find a map of a country you are teaching and use an app like Skitch to annotate it.
- Don’t have a gps or data plan? Take a screenshot of Google Maps for offline viewing of where you want to go, and have it for reference when you are near the area.
- Create images in Keynote (to be discussed later) and use them in other applications, such as blogs, documents, and iPhoto.
- See something you like on Twitter, google images or anything else for that matter, and want to share it on Instagram or Pinterest? Super easy once the images are on your Camera Roll.
- See a great deal online and want to share it to your non-tech savvy friends? Screenshot it and email the photo to them.
- Have a high score in your favorite game, like Words with Friends? Save the moment by grabbing that screenshot. This is embarassing to admit, but around a year and a half ago, I was having a great game, wanted to remember it, and actually took pictures of my game with a digital camera! Wow, looking back at that, how backwards.
- If you have something very important, like a receipt for a large online purchase, or online bill payment, take a screenshot and send it directly to google docs, Dropbox, or Evernote. When I need to refer to them in the future, I just type in what I tagged them with. Once sent, those images are permanently there for safekeeping.
versus:
What a difference in the two photos above!
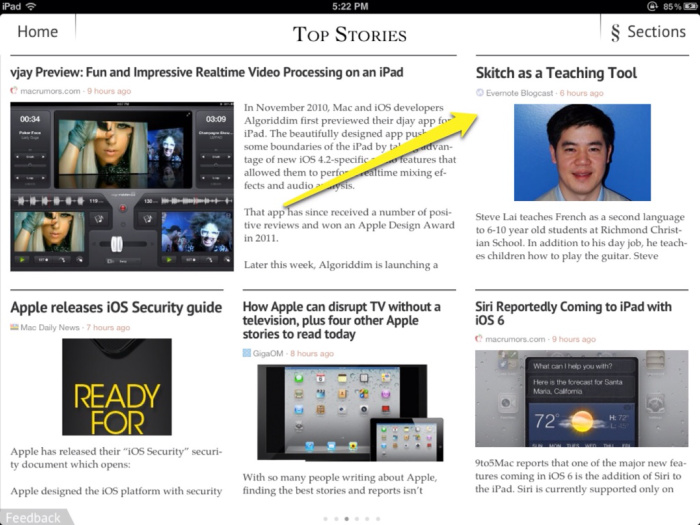
Of course I had to take a screenshot when I find myself while walking the dog on the iPhone/iPad magazine Zite, an app that I read religiously:
Practical uses for screenshots
Screenshots are not just for fun—they are incredibly practical for work, learning, and organization. Here are some ways I use them regularly:
- Maps and Navigation: Capture Google Maps or Apple Maps for offline reference, annotate routes, or highlight points of interest using apps like Skitch.
- Instructional Guides: Grab images from Keynote, Pages, or interactive apps to create step-by-step guides for students or colleagues.
- Content Sharing: See a helpful diagram, quote, or image online? Capture it and instantly share it via Instagram, Pinterest, or email.
- Receipts and Confirmation Pages: Take a screenshot of online transactions or bills, then save to Dropbox, Evernote, or Google Docs for long-term safekeeping and easy reference.
- Games and Achievements: Preserve high scores or progress in apps like Words with Friends or other games—perfect for motivation or fun competitions.
Personal anecdote: Before I knew about screenshots, I once took a photo of my iPad game screen with a digital camera just to save a high score. Looking back, screenshots would have been much faster, clearer, and easier!
Educational and classroom applications
Screenshots are particularly useful in teaching and learning environments. Here are some ways educators and students can make the most of them:
- Student Work: Capture student-created digital content or submitted work for evaluation or feedback.
- Lesson Preparation: Take screenshots of educational websites, diagrams, or interactive whiteboards to use in class materials or presentations.
- Collaborative Projects: Students can share screenshots of work-in-progress with peers or teachers for collaborative assignments.
- Documentation and Assessment: Keep screenshots of assignments, test results, or notes to organize portfolios, track progress, and communicate with parents or administrators.
Advanced tips
- Annotation Tools: Use apps like Skitch or Markup to highlight, draw, or comment on your screenshots for more clarity.
- Organized Workflow: Combine screenshots with cloud services like Dropbox or Evernote to ensure they are safely stored and easily searchable. Tagging images with keywords allows for quick retrieval later.
- Combine with Voice Dictation: Take a screenshot of your work, then annotate it with voice notes to provide additional guidance or context.
Screenshots are simple, but their potential for productivity, creativity, and teaching is enormous. They allow you to quickly capture, share, and repurpose anything on your screen—turning your iPad or iPhone into a powerful tool for learning, communication, and organization.
Do you have creative ways to use screenshots in your workflow or classroom? Share your tips in the comments—I’d love to hear them!