iMovie trailers on iPad/iPhone/iPod touch
Here is a great ice breaker activity for you if you have a few iPads to use in your classroom. iMovie comes free from Apple with new devices. If you have an older iDevice, it will cost you $4.99USD.
You will need around one iPad per group of 2-6 students. Or, if you only have one iPad, create a trailer as a class.
iMovie trailers is a very fun and easy way to create awesome short videos. Your class will probably be able to finish within one to two hours.
Note that you don’t need to worry about any spoken lines. Have your students first choose a theme, then figure out the written parts either before or during filming.
How to film, step-by-step
Have groups of 2-4. Students should take turns filming and make sure each person is featured in the movie.
1. Open iMovie on the iPad

2. In the Projects tab, tap the + sign at the bottom. Select “Trailer”.
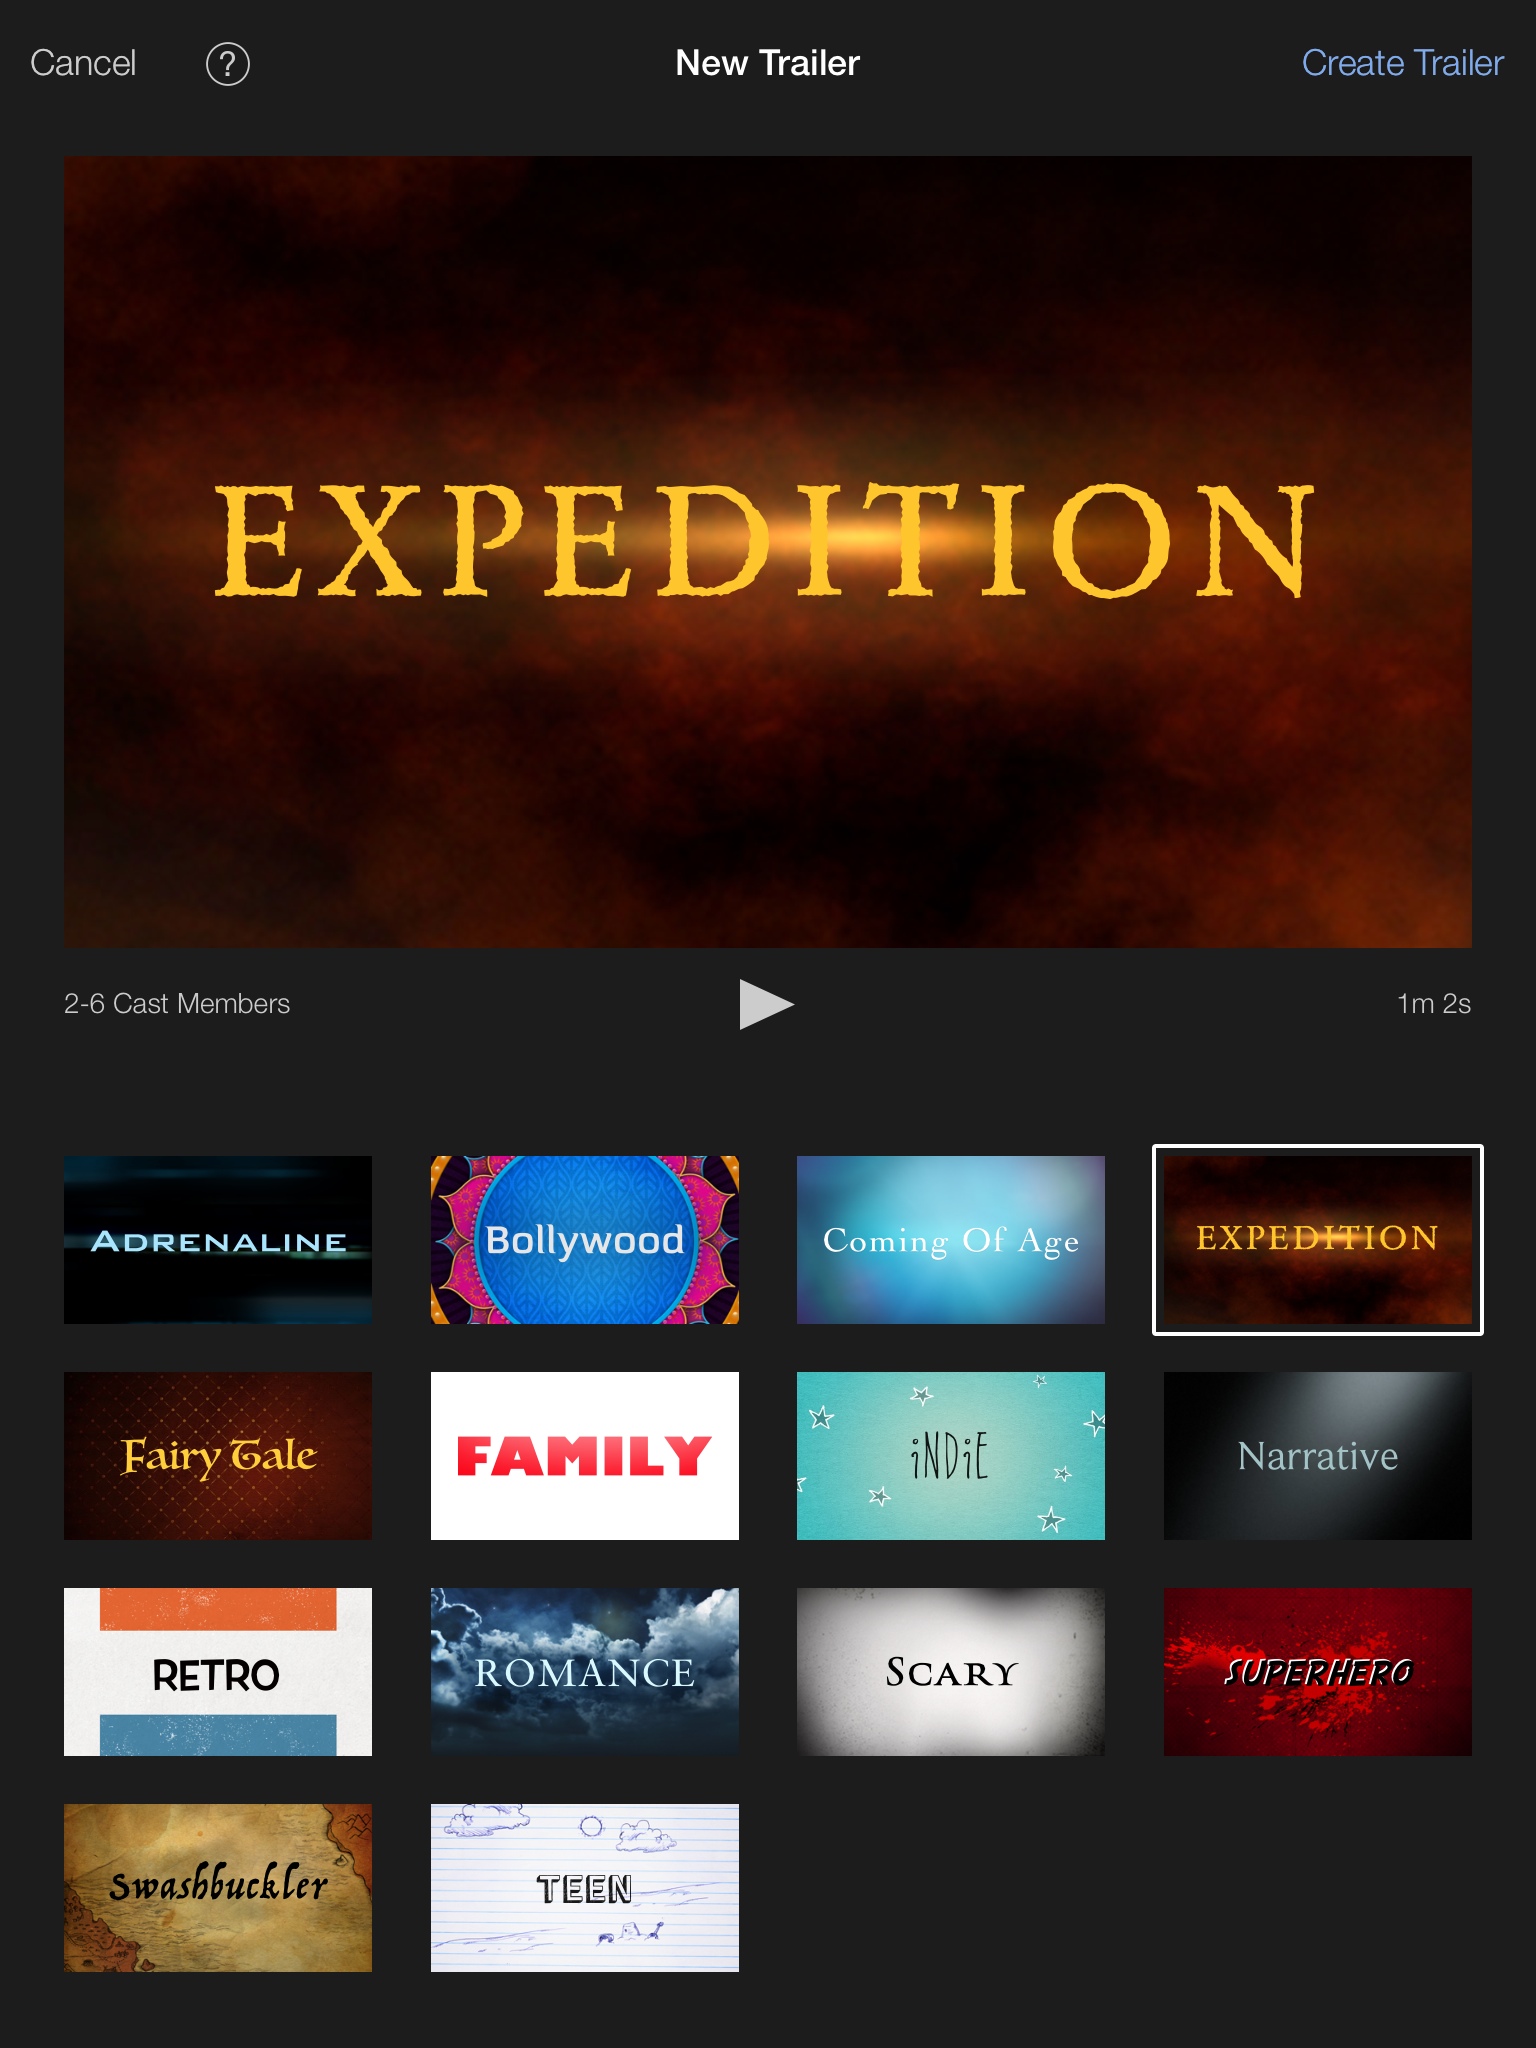
3. Choose a theme. Currently there are 14 to choose from. You can preview each one by highlighting it and pressing the play button. Tap “Create Trailer” when a theme is chosen.
4. You will see two tabs now: Overview and Storyboard. I suggest doing the storyboard first.

Storyboard
Here you will see a lot of grey boxes, each with a recommended type of scene: Landscape, Group, Close-up, Wide etc. You should follow those templates, but it’s not a big deal if you don’t.
You do NOT have to film these grey boxes in order. You can jump around.
You can film directly within the iMovie app. You can also use video that you have previously filmed in your Camera Roll. I would recommend just doing everything here in the app. You can also use still photos if you wish.
As for the storyline, older students can quickly make one up, but younger students can just film themselves and fill in the written lines after. It doesn’t have to be a full story. Simple clips of the students having fun just works as well.
Note that the little clips can not be lengthened or shortened. If it says 1.5 seconds, that’s what it is.
Once all the grey boxes are replaced by short video clips, you can preview the movie. If certain scenes are unsatisfactory, you can change them a bit by moving the video. For example, you might have filmed 4 seconds for a scene that is 2.5 seconds. You are able to scroll to the exact 2.5 seconds you want.
Now have the students add in the written sections. They can be as creative as they want. Spell-check should work, but maybe spend some time previewing/proofreading each one if you have time!

This is where to input the credits, where students can enter their names for director, movie title, casting etc.
Assessment
Since this is a beginning of the year activity, you can assess student participation and cooperation. Creativity marks can be given, as well as storyline and spelling.
Students will love watching each other’s videos. Depending on your projector setup, students can either AirPlay their trailers for the class, or they can bring their iPads one by one to attach via the hdmi connector.
Remind them to film in landscape, not portrait!
Saving
If you want to save the videos, I would recommend getting a class Vimeo account, and uploading each of them there. Vimeo videos can be password protected and you can give the passwords to parents to view at their leisure. If you just want a copy for your records, and not post them online, you can have them AirDrop the final versions to you.
Conclusion
Apple has been great about adding more themes in their updates. Hopefully we will see even more themes in the near future!
The results are fantastic. People who don’t know about this feature will be amazed at the quality of the final drafts. Little do they know that making trailers on the iPad is so easy!
I did iMovie Trailers with first graders this past year. They had very little trouble learning it, and had a great time making them and showing them to their friends.
This is a good way for new classes to begin the year. I hope that they enjoy this activity!
Here is a quick sample of a trailer I made of my younger daughter, just shot while the family went shopping:
Here is a sample video made by one of Sylvia Duckworth’s Grade 5 students:
Here is a class video made by Japanese teacher and colleague Colleen Lee-Hayes:
Thoughts? Other ideas? Please let us know in the comments!
Further reading
iMovie 2.0 [tutorial]
Film in landscape, not portrait!
AirDrop, a teacher’s most important new feature
Tutorial on iMovie and iMovie Trailers – by Mel Brown and Jacky Aversa, adapted by Sylvia Duckworth


Absolutely adorable and really highlights the potential of the iMovie tool! Thanks for sharing.
Reblogged this on PerssonalityPlusTeacher and commented:
What more can be said – watch the video and decide for yourself…our online presence can be real, funny, innovative, creative and engaging. Thank you Stephen for your dedication to teaching, learning and fun!
Thanks so much!
Great tutorial of how to use the Trailer in iMovie. One project I am using the trailer for in my first-grade class is with story elements of a fictional story. My students are going to read a fictional book and highlight the characters, setting, problem, events, and resolution within their trailer. I know that a trailer sets anticipation for something, but using it as a way to show comprehension of a text is another way to go. One idea to get a younger audience excited about creating a trailer is to show them a trailer from one of their favorite cartoons (I showed the “Spongebob” movie). After discussion, the students understand the purpose of a trailer and are excited to create their own.
Great idea Jess! Thanks for your contributions.
Anytime! Other wonderful applications to use for Digital Storytelling is Adobe Voice. It works just like iMovie, and is free.